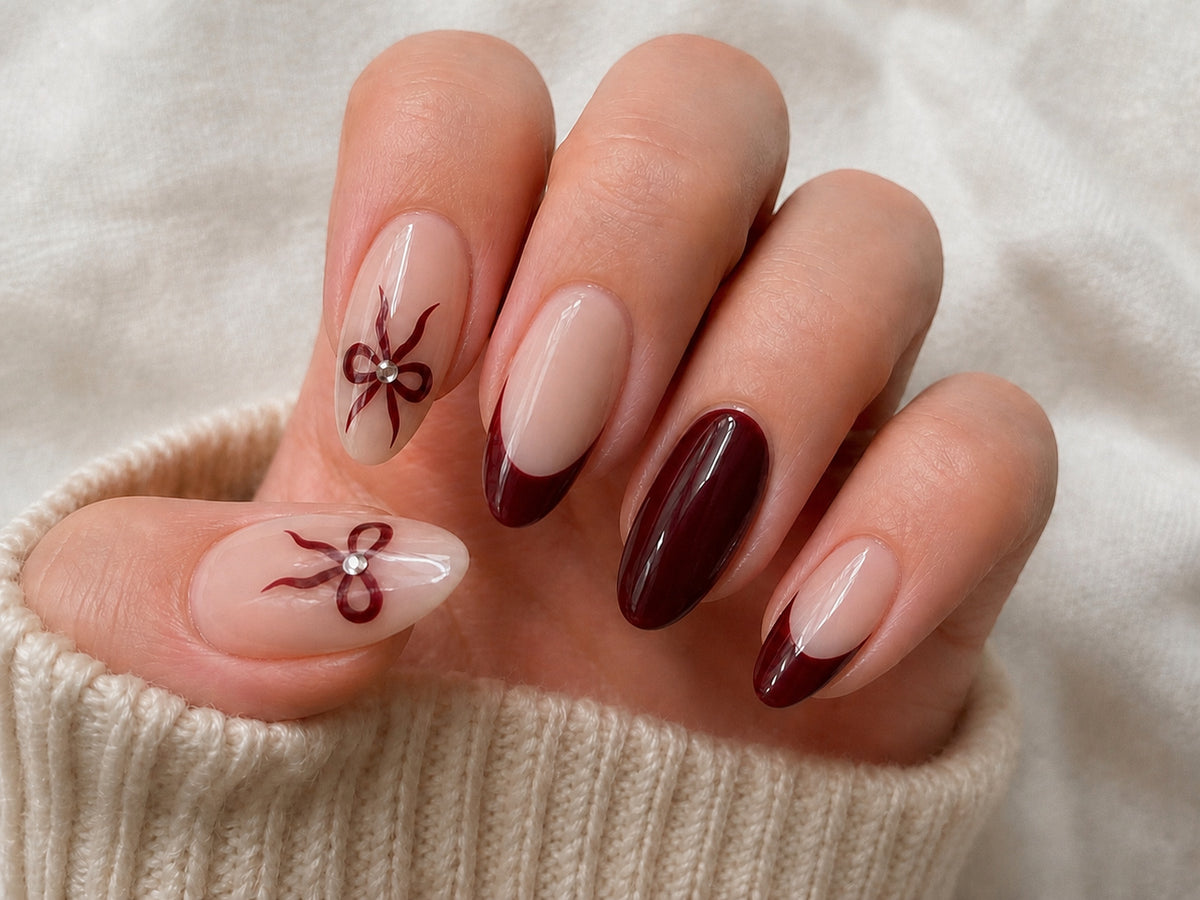
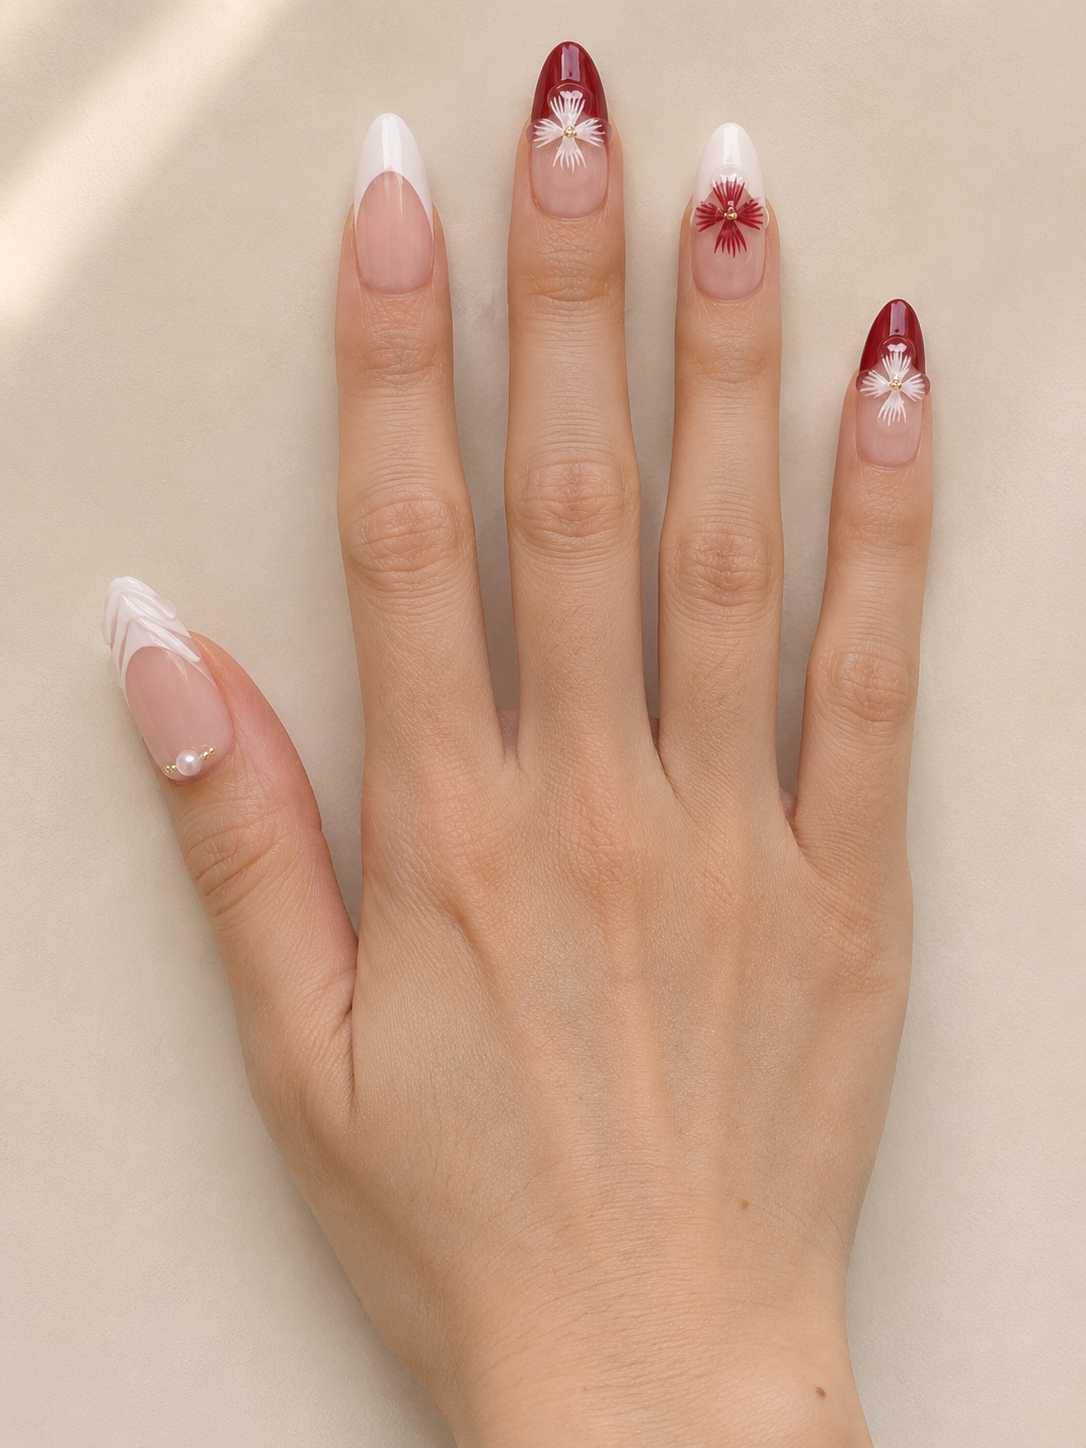
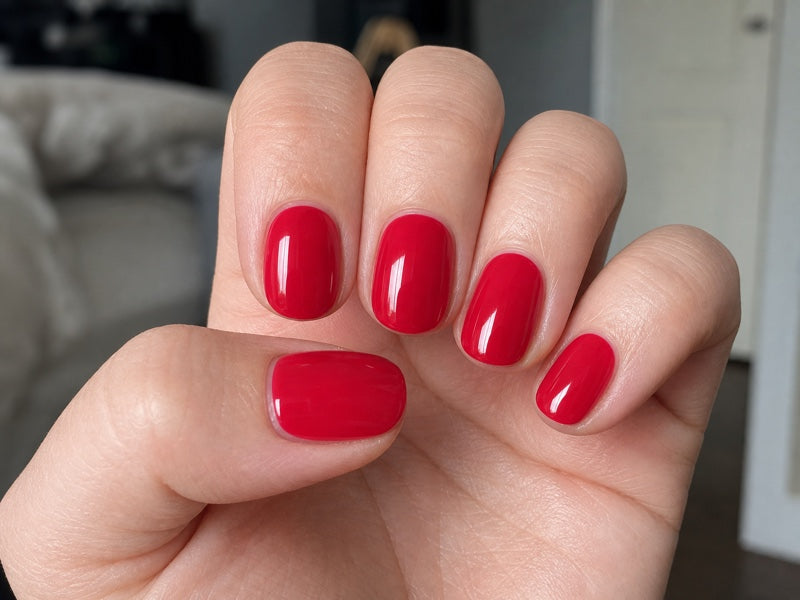
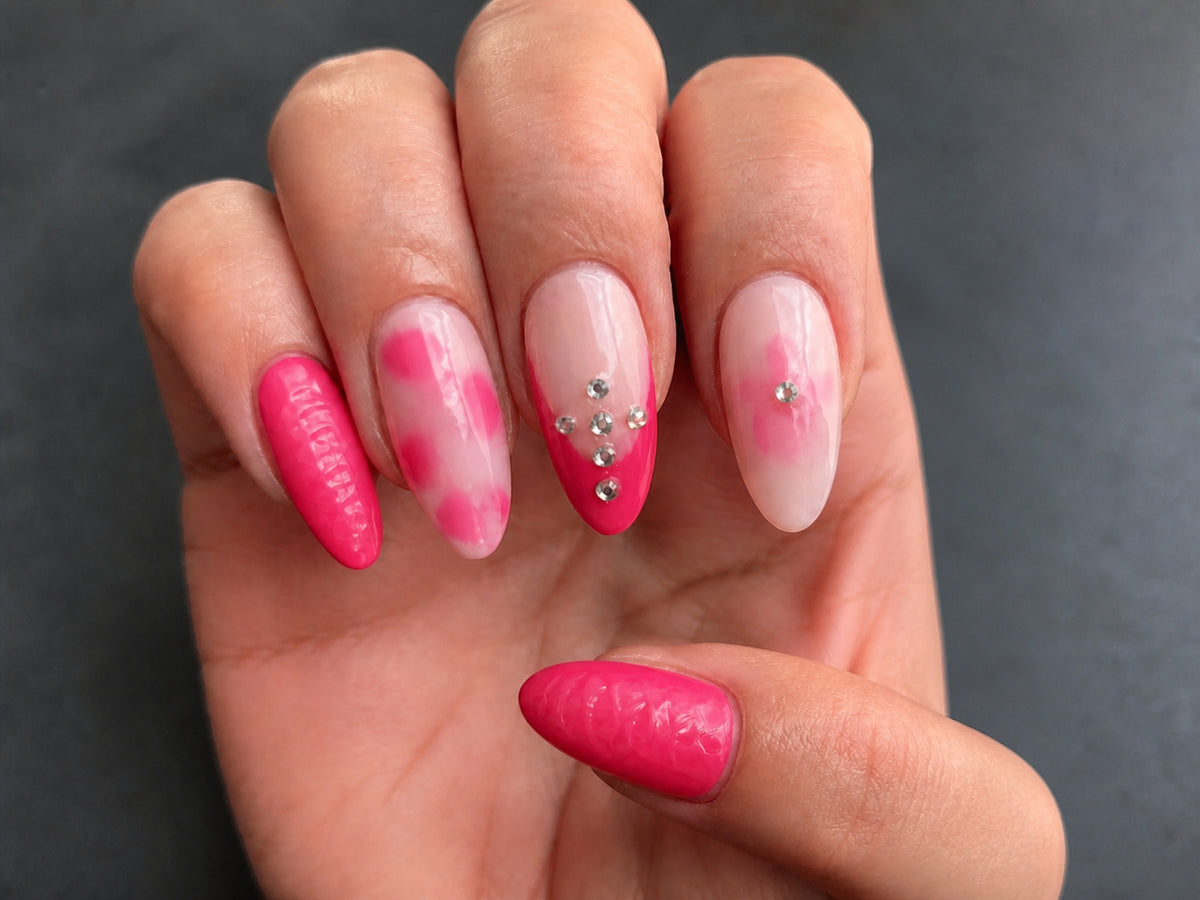
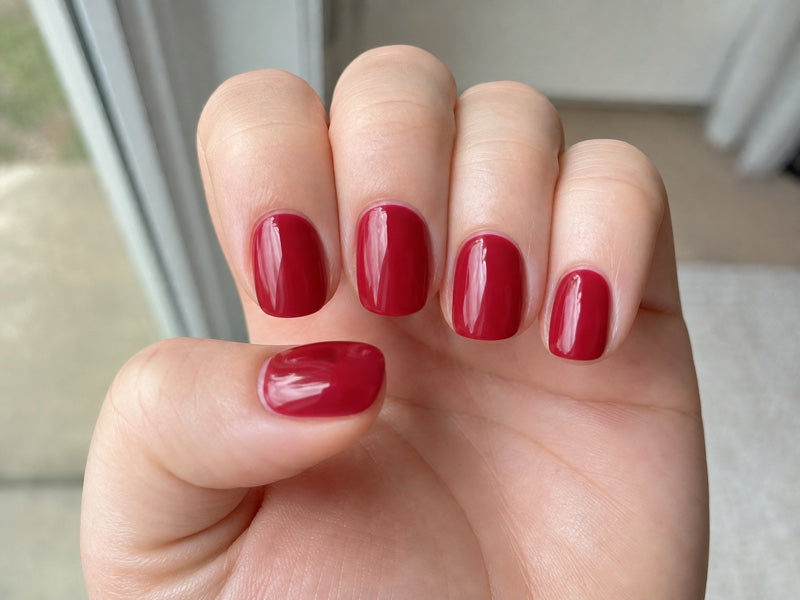
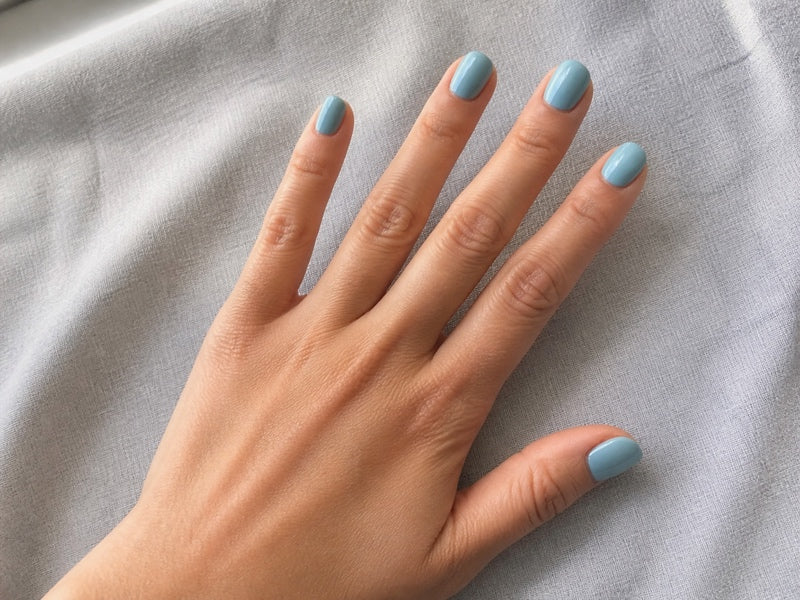
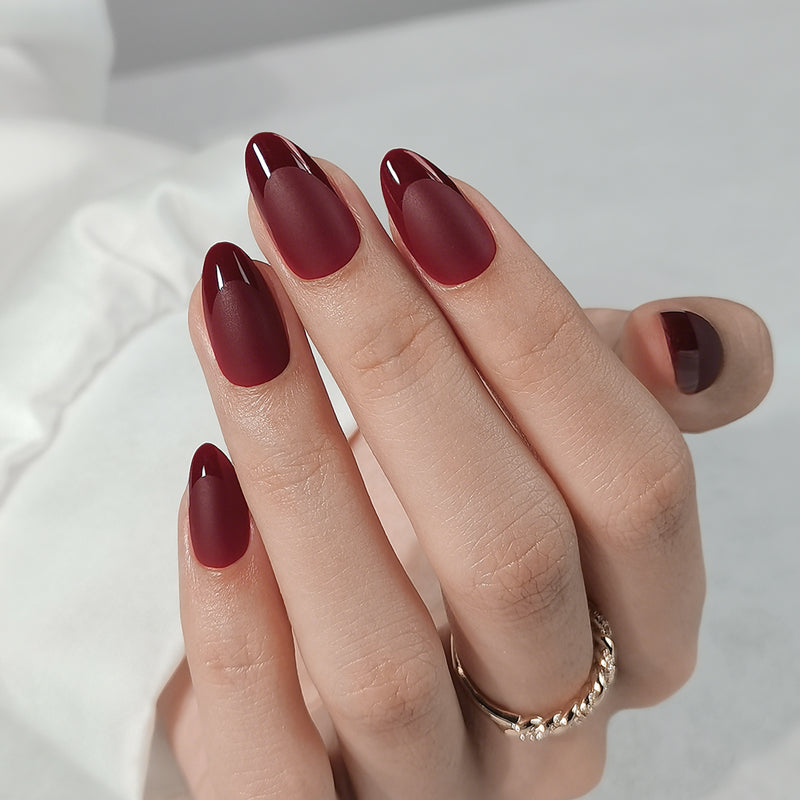
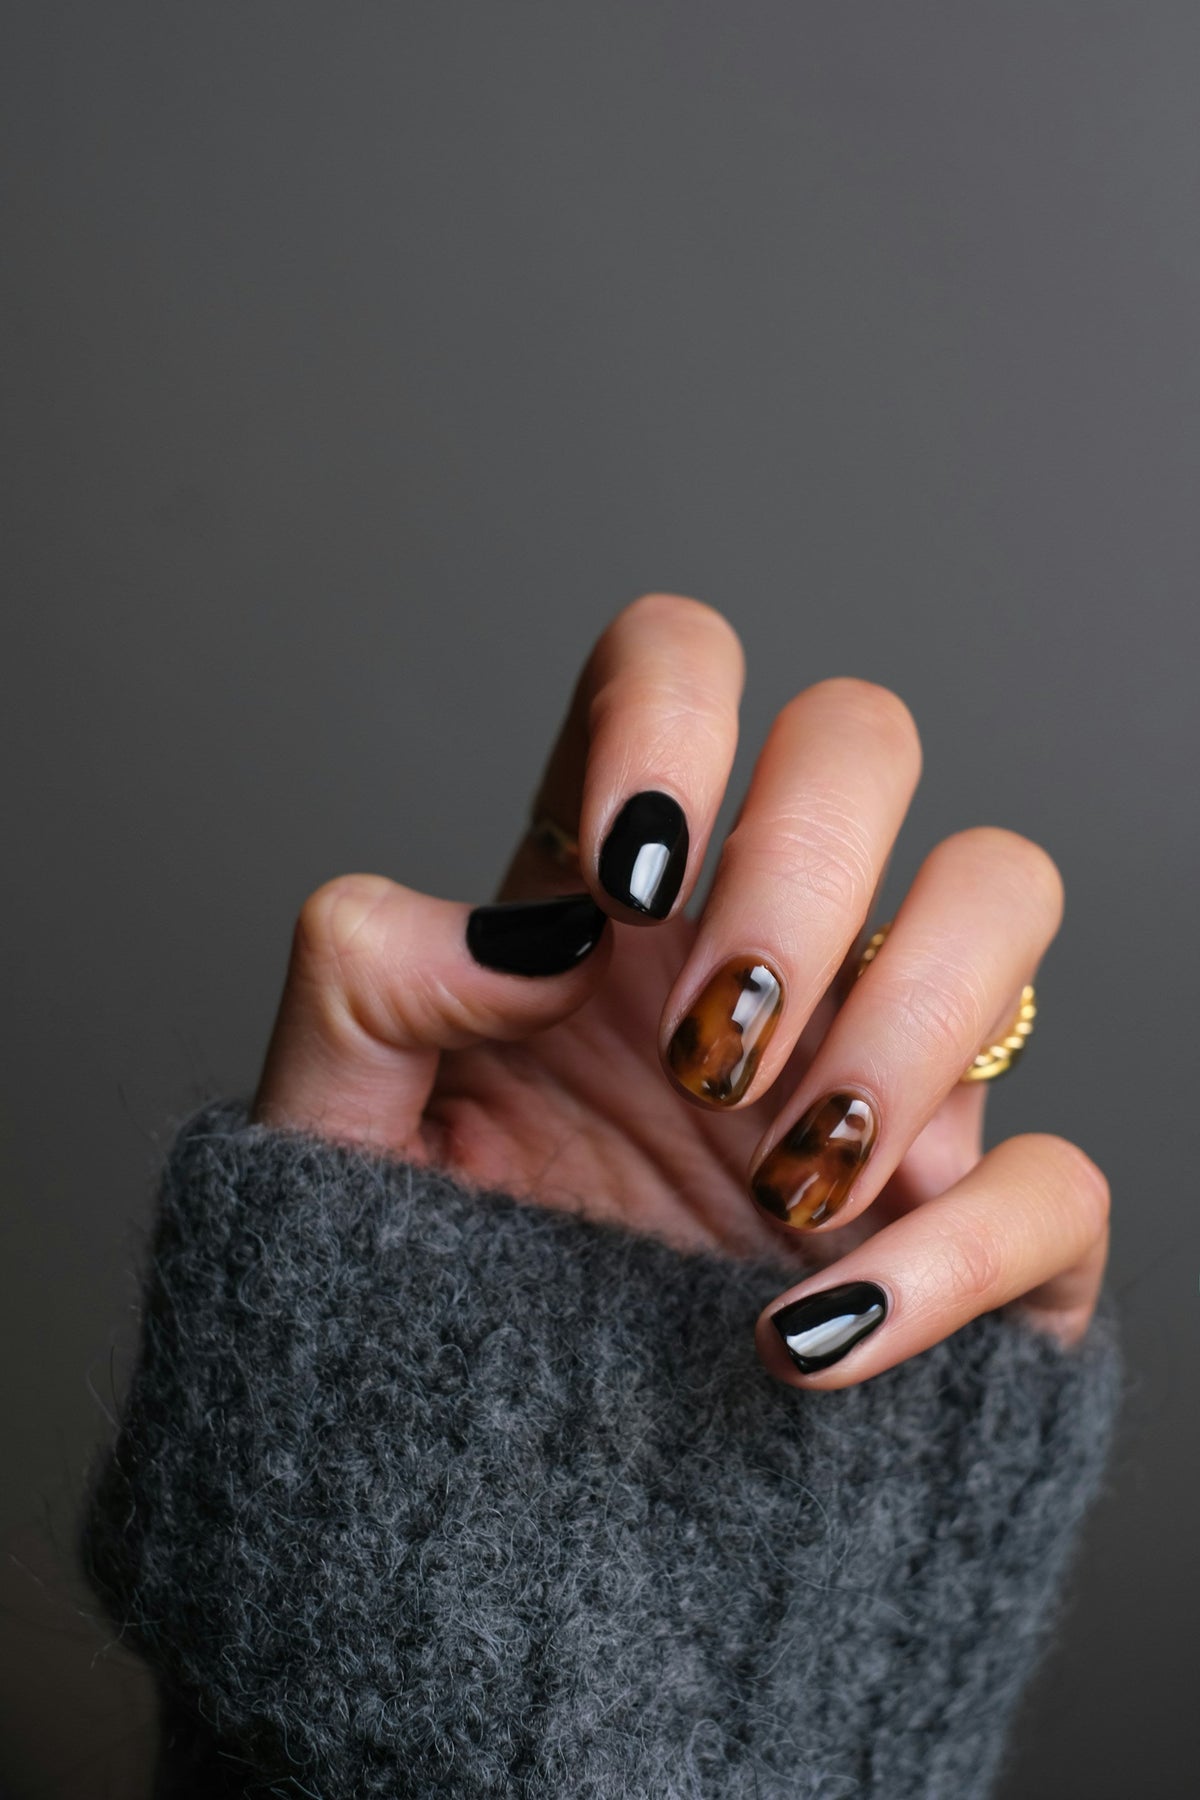
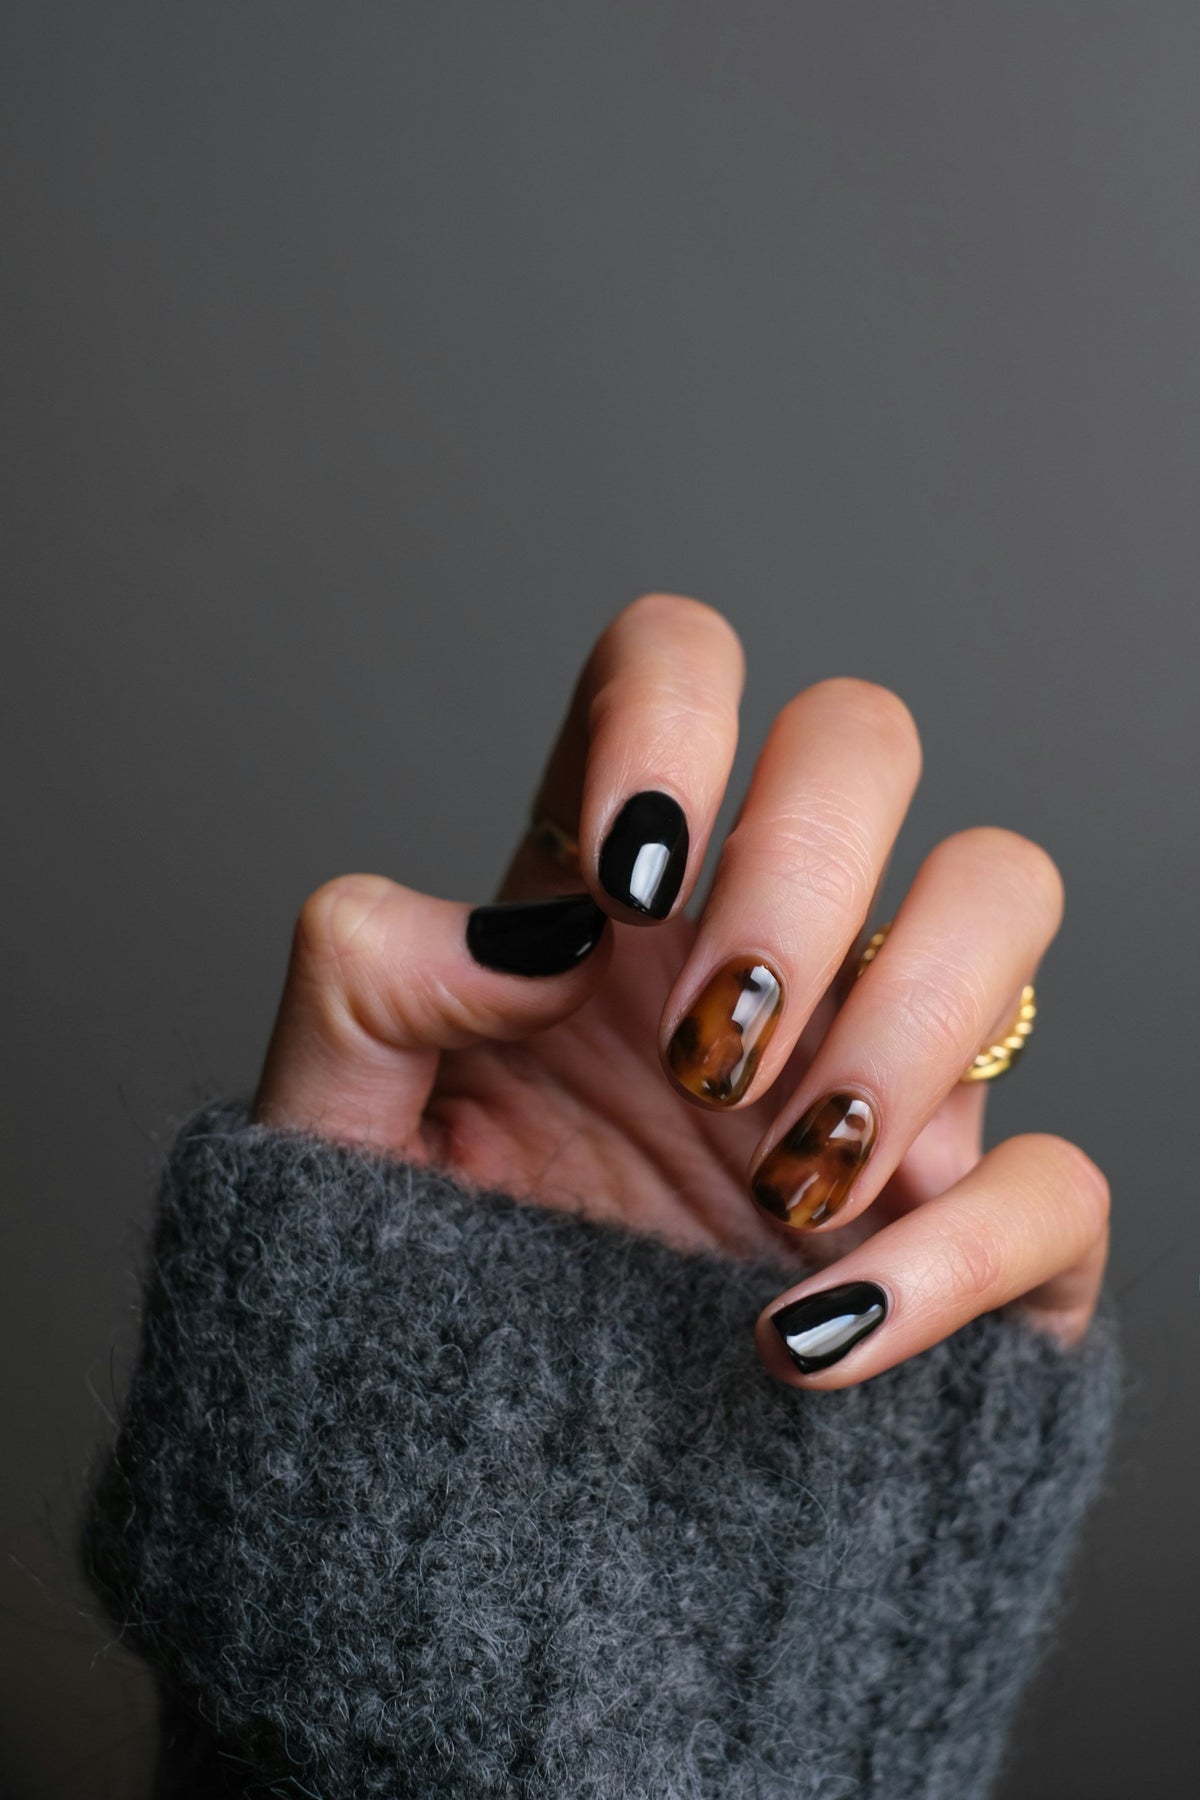
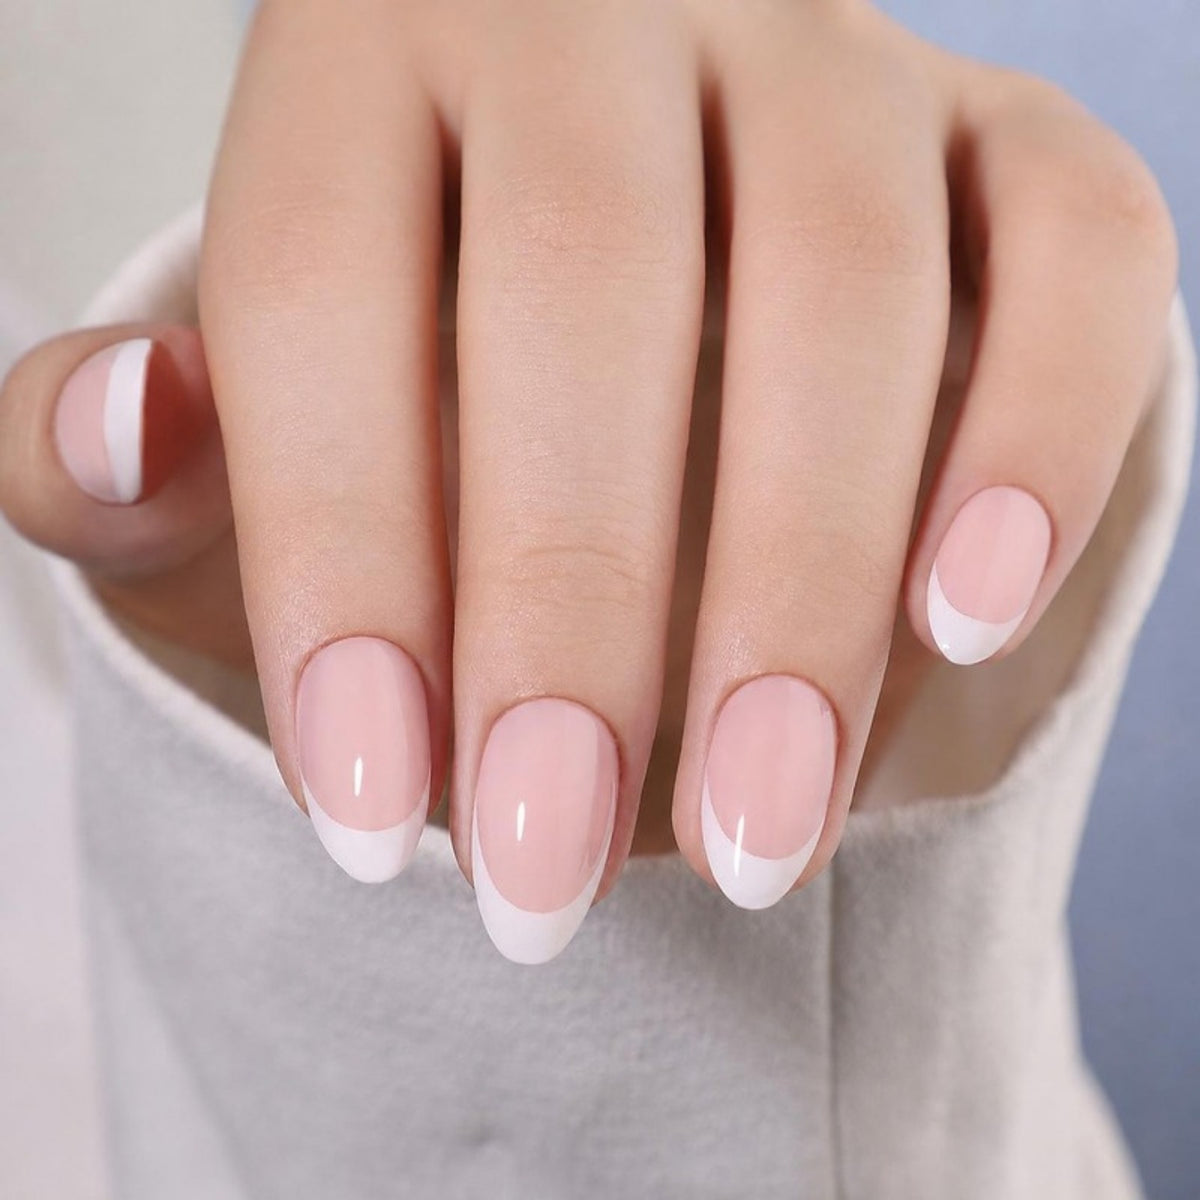
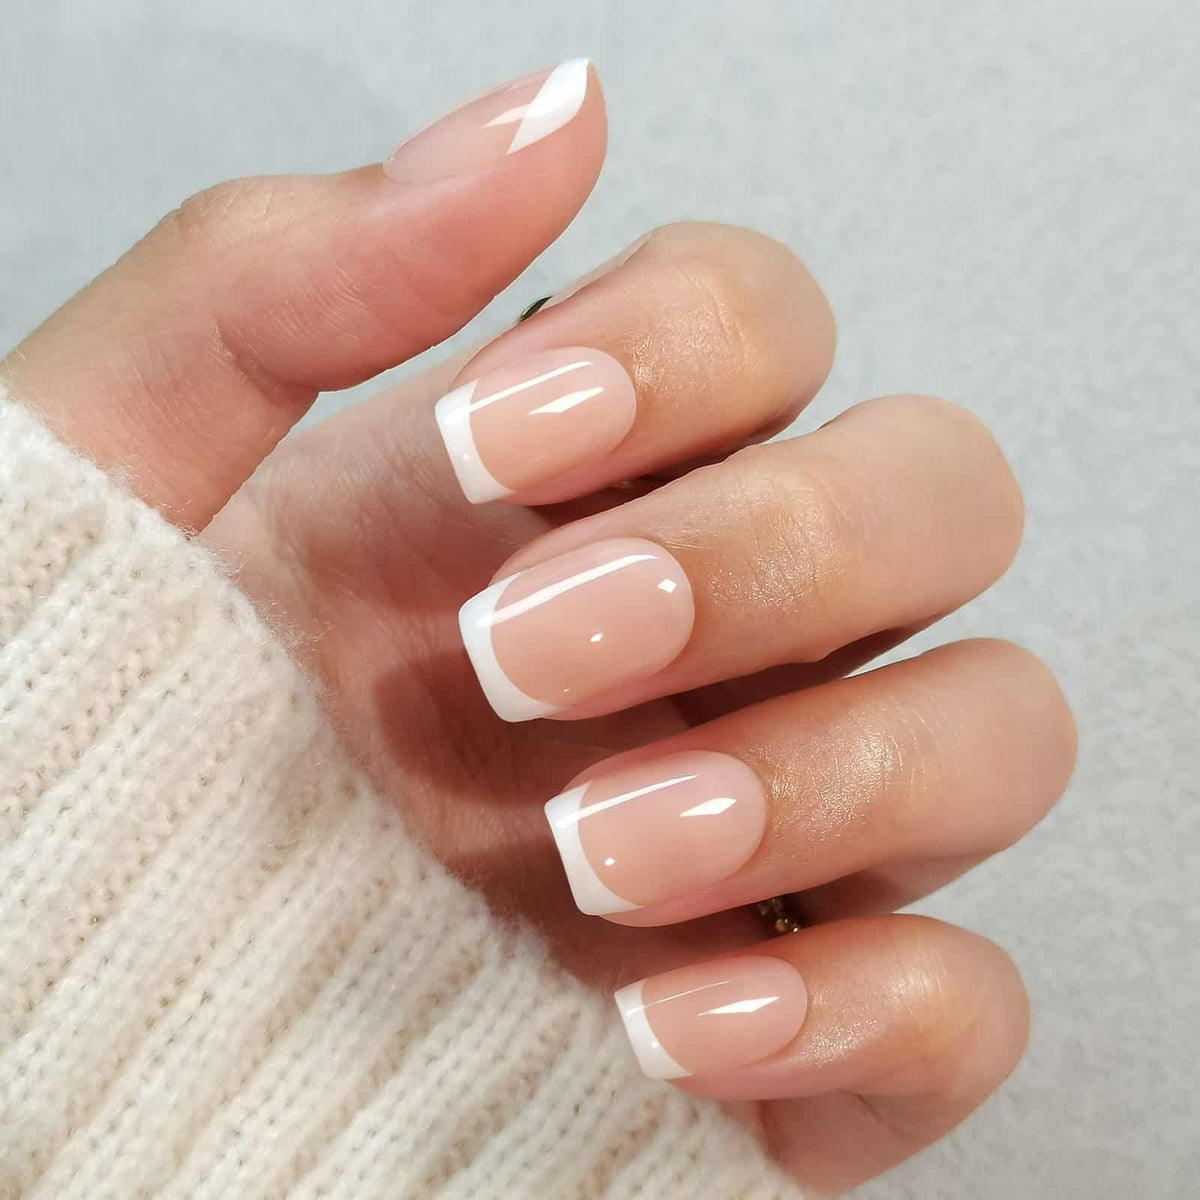
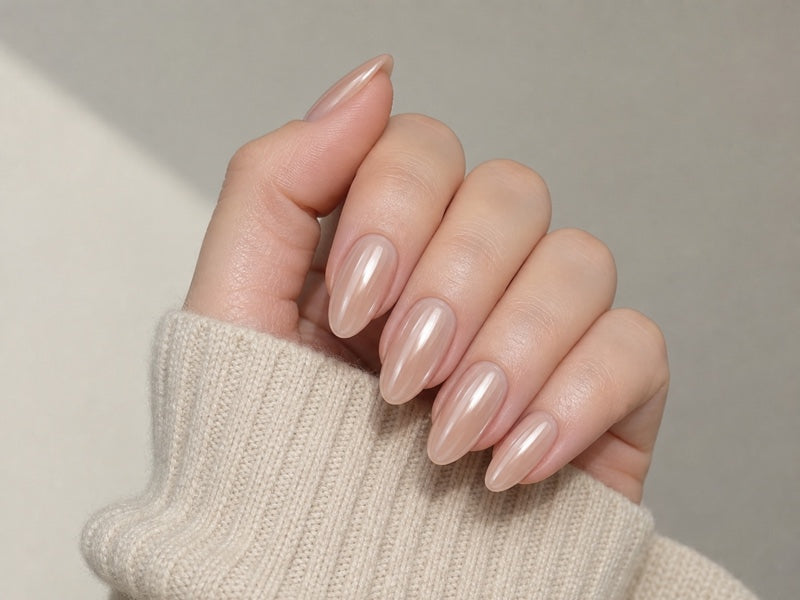
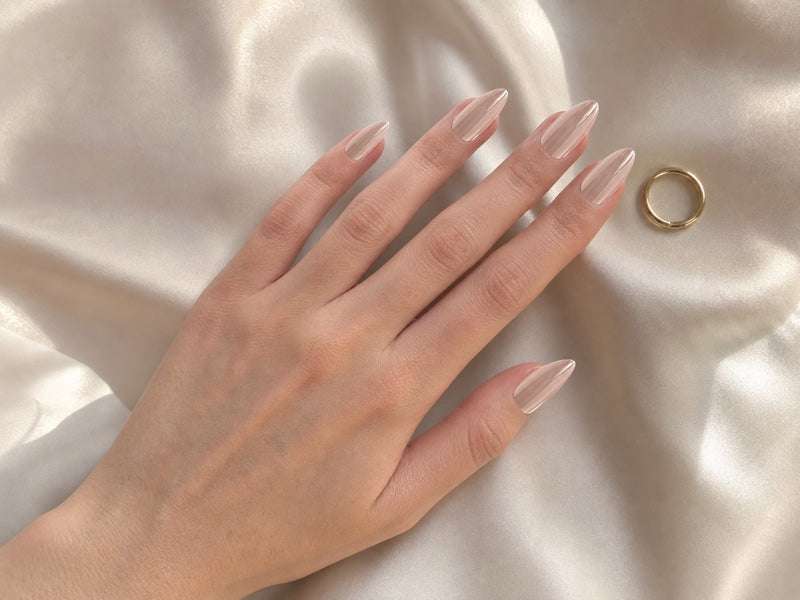
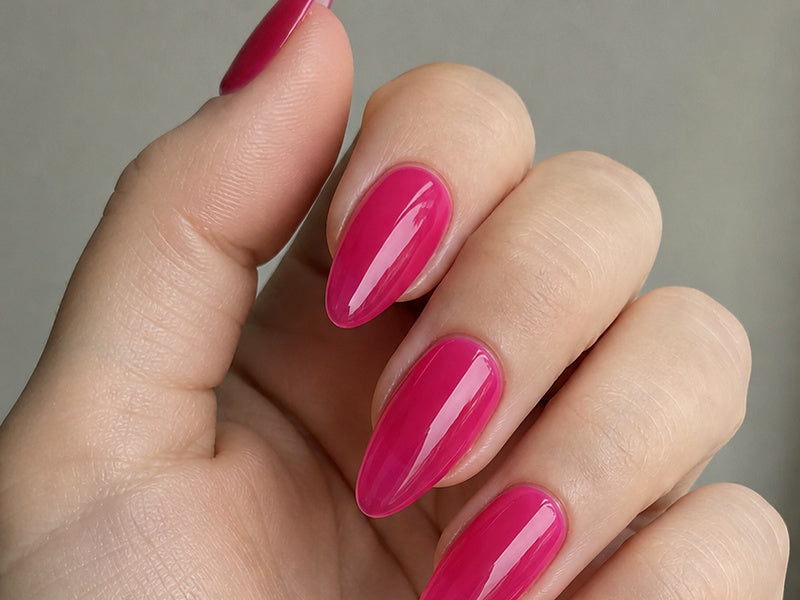
Soft gel press-on nails with a salon-style finish — without the appointment or hours in the chair. Apply at home in minutes and choose the wear option that suits you.
⬡ 32 nails per box⬡ Reusable⬡ Glue or adhesive tabs
Free ShippingOn orders of $70 or more
The complete Larisa kit
32 nails. More ways to find your fit.
More sizes mean more freedom to compare, refine and find a comfortable match for every natural nail. Every design arrives with the essentials for prep and application—nothing extra to chase down.
32Nails in assorted sizes
2Wear options included
1Complete at-home kit
0132 press-on nails
02Nail glue
03Adhesive tabs
04Mini nail file / buffer
05Wooden cuticle stick
06Alcohol prep pad
07Application guide
Shop all setsUse glue for longer wear or tabs for an easier short-term change.
32Nails per box
All 32 nails · assorted sizes32 adhesive tabsThe application essentialsDesign shown: Beauty. Nail artwork varies by set.
Find your perfect nail design
Shop by style
Browse the shapes verified from each physical Larisa Nails set.
Watch each short demonstration, follow the matching instructions and choose the application method that suits your plans.
Prep · Find your fit
Step 01 · Fit, buff & prep
Prep & find your fit
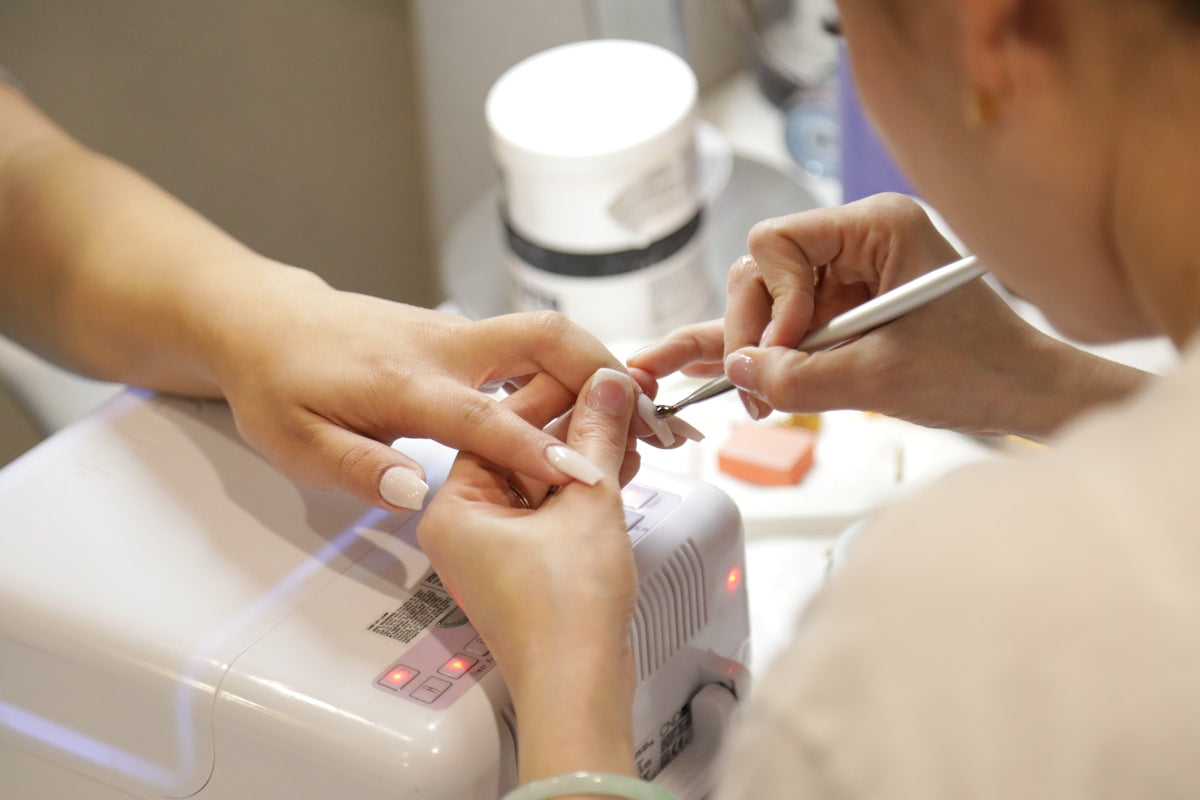
Compare the press-on sizes and set aside the best fit for every finger. Lightly buff the natural nail surface, then wipe away dust and oils and let every nail dry completely. The final close-up shows gentle cuticle prep with the wooden stick. Before applying glue or tabs, check that the nail surface is clean and dry.
Watch the four prep actions
Step 02 · Longer wear
Apply with nail glue
Open the included nail glue as shown, then apply a thin, even layer while avoiding the surrounding skin. Align the press-on just above the cuticle, lower it into place and press firmly for 30 seconds. Wear time varies with preparation, application and daily activity.
Watch the two glue actions
◇Use only as directed. Avoid damaged nails and skin, and keep nail glue away from eyes.
Step 03 · Shorter wear
Apply with sticky tabs
For an easier short-term change, choose a tab that fits the natural nail without touching the skin. Position it just above the cuticle, smooth it from the centre to the sides and remove the clear backing. Then align the press-on and hold it firmly in place.
Watch the two tab actions
◇Tabs are ideal when you want a shorter, easier-to-change manicure. Avoid water immediately after application.
Step 04 · Finished look
Salon-style shine, at home
Check every edge, then gently file only if you want to refine the shape or length. The finished manicure should feel secure and comfortable—not tight or painful.
See the result
Step 05 · Gentle removal
Remove, care & rewear
Soak the nails in warm soapy water for around 15 minutes. Once an edge loosens, gently work the wooden cuticle stick underneath. Never force the nail—re-soak whenever you feel resistance.
Watch the two removal actions
◇After removal, clean residual adhesive from the press-ons, dry them completely and store the set safely for your next wear.
32 nailsMore sizing choice
2 waysGlue or sticky tabs
At homeNo appointment needed
RewearWith careful removal
WearRemoveRewear
The Larisa standard
Made beautifully. Made to return to.
Larisa Nails brings salon-level design into an easy at-home ritual. Our soft-gel sets are made for a precise, comfortable fit and can be carefully removed, stored and worn again, so great nails do not have to be a one-night decision.
Soft-gel finish
A smooth, high-gloss look with a lightweight, comfortable feel.
Designed to rewear
Careful removal and storage help you enjoy your favourite set again.
Flexible application
Use nail glue for longer wear or adhesive tabs when you want an easier short-term change.
THE ART OF THE FINISH
Six layers. One polished finish.
THE LARISA DETAILS / 06 LAYERS
From the soft gel tip to the final glossy finish—here’s how the layers come together.
Illustrated layer guide. Colours, artwork and finish vary by design.
A CLOSER LOOK
Every layer has a role.
Explore the finish, from top to tip.
01Anti-scratch Gel Finish
The protective top layer that completes the glossy finish. Careful wear still matters—no nail finish is scratch-proof.
02Building Gel Finish
The gel layer that builds up the smooth, shaped finish above the design.
03Pattern
The artwork layer that gives a patterned set its individual character.
04Color Gel
The colour layer beneath the artwork and glossy finish.
05Base Coat
The base layer between the colour gel and the nail tip.
06Soft Gel Tip
The nail-shaped foundation beneath the colour, detail and finish.